How To Implement Google Recaptcha v3 on Your Django App
In this tutorial, I will show you how to implement google recaptcha v3 into your django app.
I also already create a simple django app, and what we will do here only to integrate the google recaptcha v3 in some views.
Let's get started.
Clone App
Clone https://github.com/ihfazhillah/django-recaptchav3-example, then optionally create a virtualenv. Install the dependency.
FYI, the repo has 2 branches. master and final. Just start with master branch, and you can get the final result in the final branch.
Step 1: Register Google Recaptcha and Choose v3
Go to https://g.co/recaptcha/v3, then create a new site.
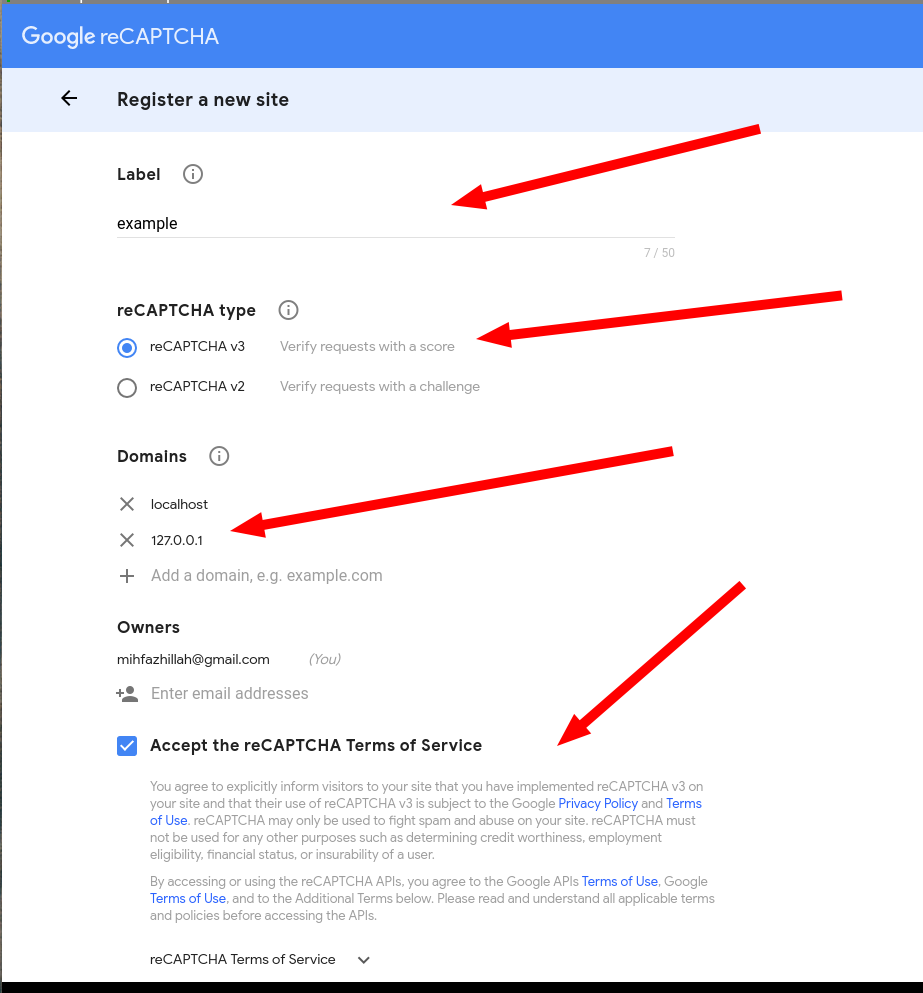
Insert your Label, choose reCaptcha v3 in the recaptcha type.
Add localhost and 127.0.0.1 into domains field for local testing.
Accept the TOS. And then click submit.
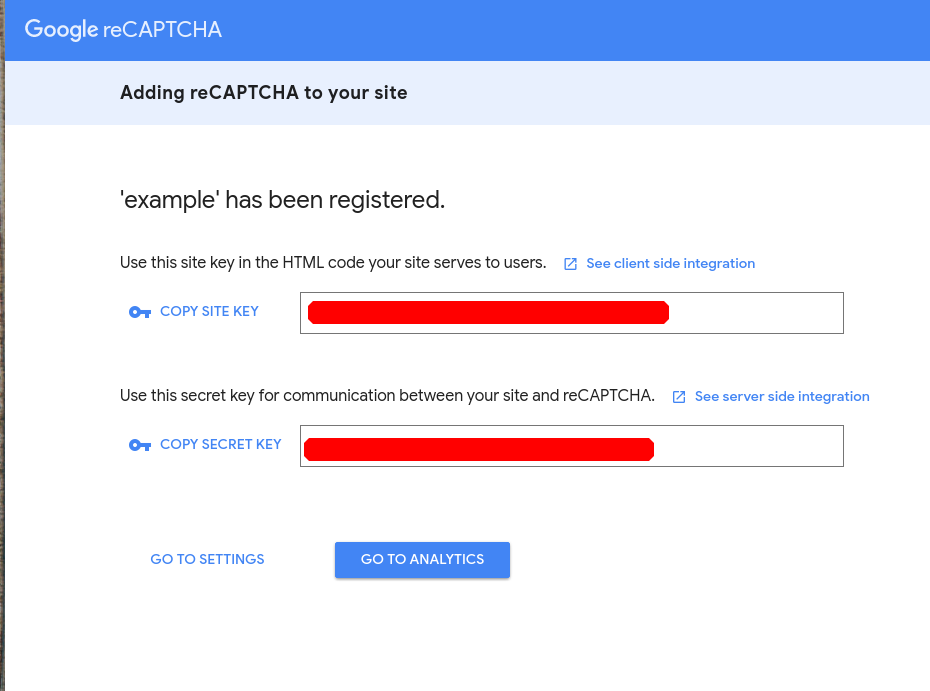
You will see secret key and site key. The site key is what you need to implement google recaptcha v3 in the frontend. And secret key, keep it secret. This will be used for g-recaptcha's frontend response verification on your backend.
Step 2: Put Keys Into settings.py
Grab secret_key and site_key into settings.py like this:
RECAPTCHA_SITE_KEY = "your site key"
RECAPTCHA_SECRET_KEY = "your secret key"
and add site key into your index view
from django.conf import settings


def index(request):
    """
    simple render index.html
    """

    return render(request, 'index.html', {'site_key': settings.RECAPTCHA_SITE_KEY})
Step 3: Implement g-recaptcha on your frontend
open templates/index.html and add this javascript script:
        // 1
        <script src="https://code.jquery.com/jquery-3.4.1.min.js" integrity="sha256-CSXorXvZcTkaix6Yvo6HppcZGetbYMGWSFlBw8HfCJo="
  crossorigin="anonymous"></script>

        // 2
        <script src="https://www.google.com/recaptcha/api.js?render=reCAPTCHA_site_key"></script>
        <script>
          // 3
          grecaptcha.ready(function() {
              // 4
              $('#contactform').submit(function(e){
                  var form = this;
                  // 5
                  e.preventDefault()
                  grecaptcha.execute('reCAPTCHA_site_key', {action: 'contactform'}).then(function(token) {
                      // 6
                      $('#recaptcha').val(token)
                      // 7
                      form.submit()
                  });
              })

          });
         </script>
- Use
jqueryto work with selector. It will make selection easier. - Render the recaptcha v3 in your page
- when recaptcha ready, then
- when user click on submit button, execute grecaptcha to get the response token
- include the response token into form request and we will verify it on the backend
and add this hidden input in the form
<input type="hidden" name="g-recaptcha-response" id='recaptcha'>
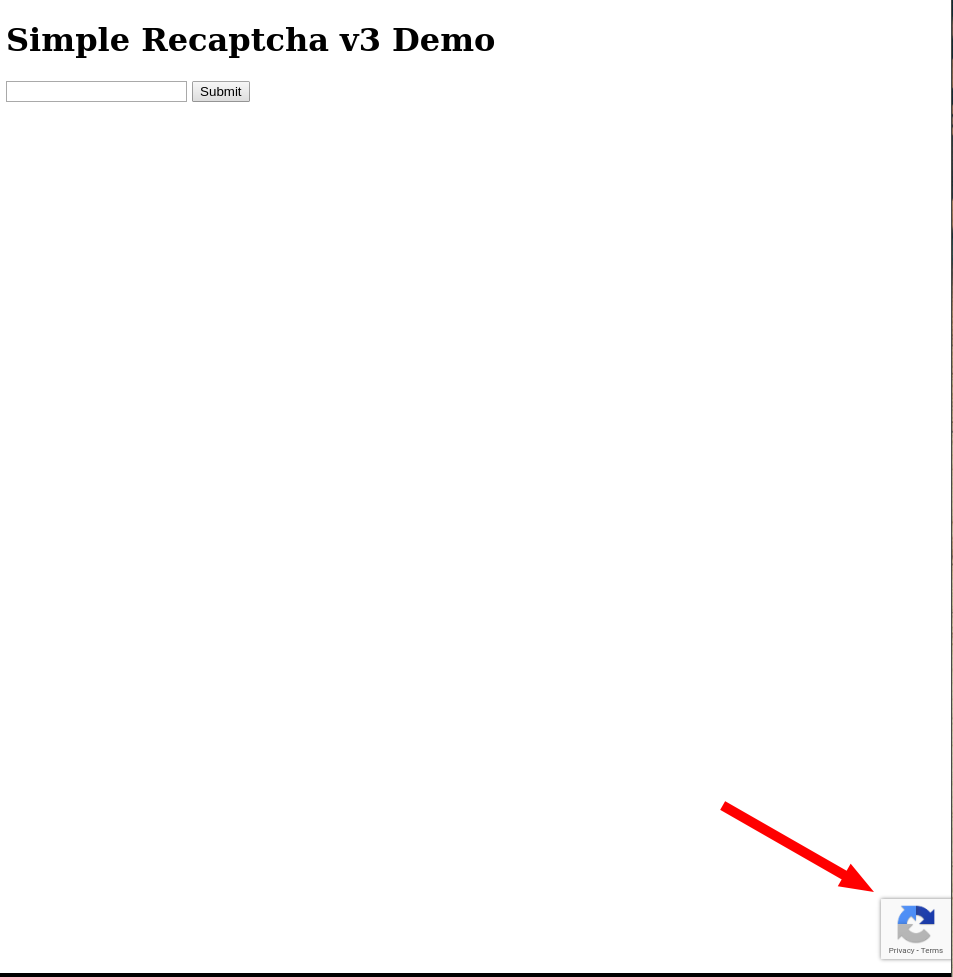
now recaptcha activated !
Step 4: Implement g-recaptcha verification on your backend
open recaptcha_example/views.py and write down this on the contact view function:
   secret_key = settings.RECAPTCHA_SECRET_KEY

    # captcha verification
    data = {
        'response': data.get('g-recaptcha-response'),
        'secret': secret_key
    }
    resp = requests.post('https://www.google.com/recaptcha/api/siteverify', data=data)
    result_json = resp.json()

    print(result_json)

    if not result_json.get('success'):
        return render(request, 'contact_sent.html', {'is_robot': True})
    # end captcha verification
- Get recaptcha response token from frontend.
- verify it
- if
successtrue we can assumse that the user is not a robot, and process whole request - if not, return error.
- Don't forget to install
requestspackage
If you curious, this is example of response from g-recaptcha verification
{'success': True, 'challenge_ts': '2019-05-22T05:43:19Z', 'host
name': 'localhost', 'score': 0.9, 'action': 'contactform'}
and I'm not a robot. Yay...
Conclusion
That's all. We use google recaptcha v3, so there are no interruption to our visitor and we will get a score between 0.0 into 1.0 to indicate the visitor is a robot or human.
Thanks for reading, and hope you can implement it into your next project.
